How to Take Rose Cuttings
There’s something especially satisfying about growing a brand-new rose from a plant you already love. Taking rose cuttings is a simple and inexpensive way to propagate your favourite roses, and you don’t need lots of specialist equipment to give it a try.
Summer is an excellent time to take softwood or semi-ripe rose cuttings, when the stems have produced plenty of healthy new growth. With a little patience and the right conditions, those small pieces of stem can develop their own roots and eventually become established rose plants.
What You’ll Need
Before you start, gather a few basic supplies:
- A healthy rose plant
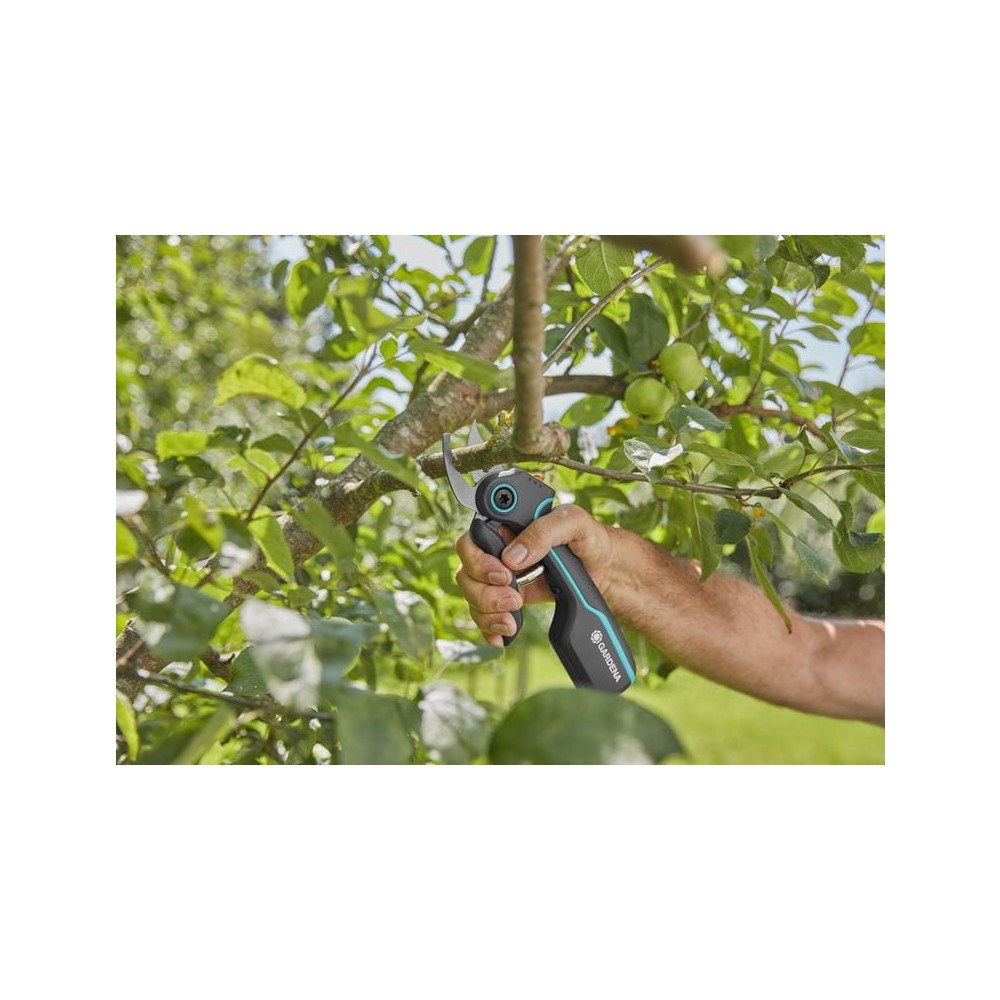
- Clean, sharp secateurs
- Small pots
- Peat-free, free-draining compost
- A pencil or dibber
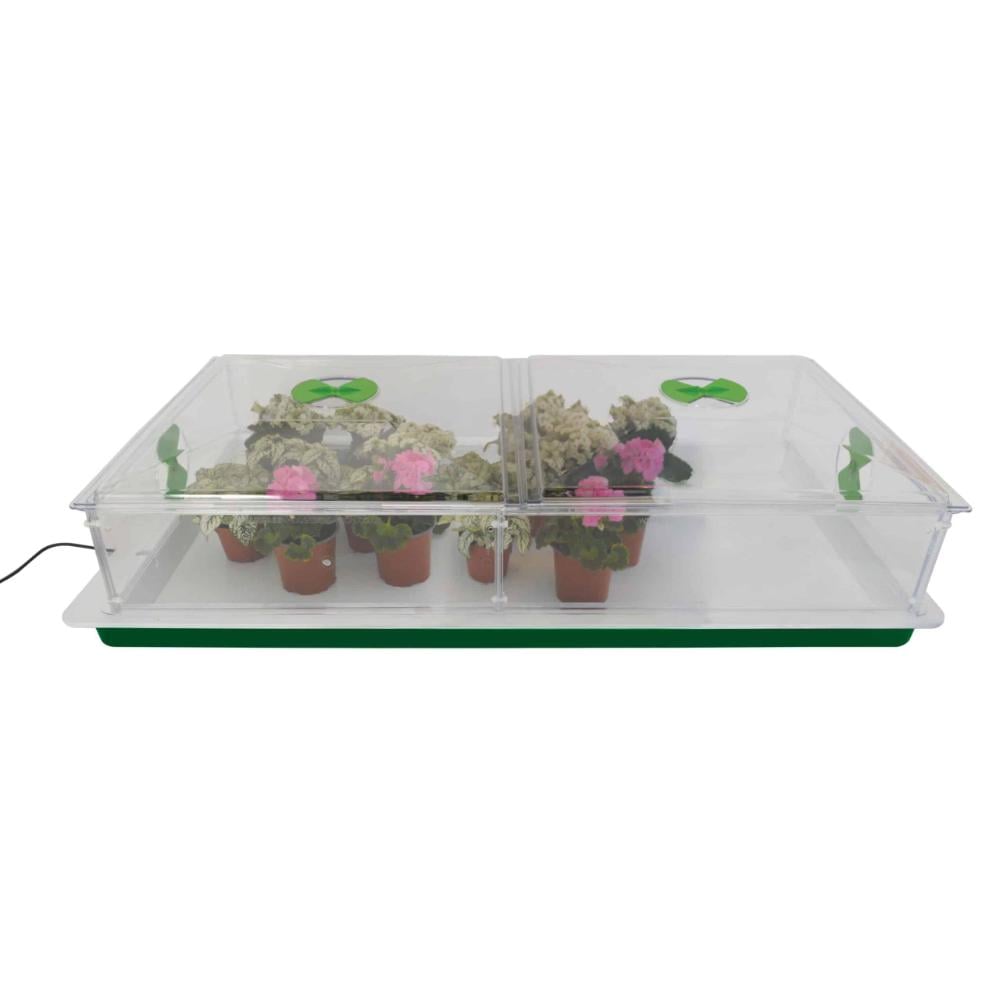
- A clear plastic bag or propagator
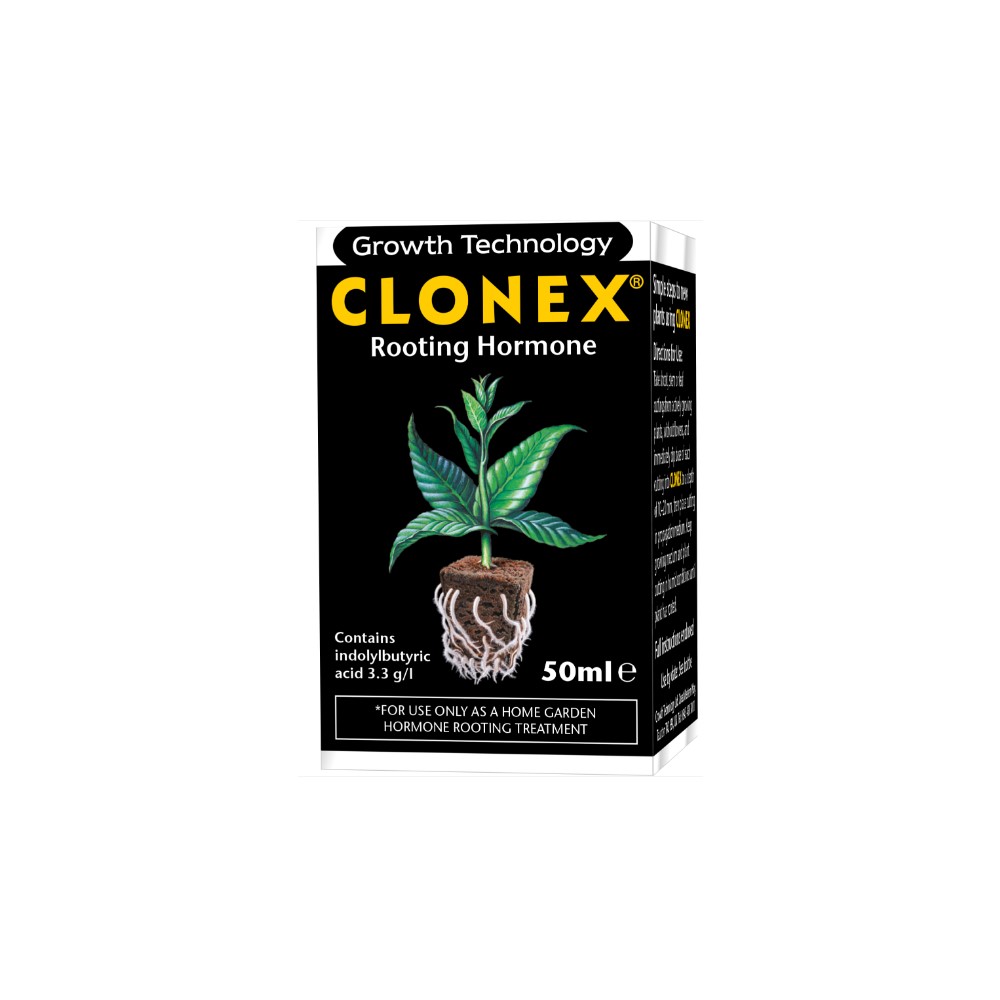
- Rooting hormone, if you have some – although it isn’t essential
It’s best to take several cuttings rather than just one. Not every cutting will successfully root, so taking a handful increases your chances of success.
Step 1: Choose a Healthy Stem
Look for a healthy, vigorous stem from this year’s growth. Ideally, choose one that has recently flowered or is beginning to mature rather than a very soft, floppy new shoot.
Avoid stems showing signs of disease, damage or pests.
Cut a section of stem around 15–20 cm long, making your initial cut with clean, sharp
secateurs.
Step 2: Prepare the Cutting
Remove the flower or spent flower head from the top of the stem.
Next, remove the thorns (makes it easier to work with) and leaves from the lower part of the cutting, leaving two sets of leaves near the top.
Make a clean cut just above a leaf joint, also known as a node. This is the point where a leaf grows from the stem and is a good place for new roots to develop. After cutting the stem submerge the bottom of the stem in water to prevent any air getting trapped within the stem as this will stop the cuttings from rooting.
If the remaining leaves are particularly large, you can reduce them slightly. This helps limit moisture loss while the cutting is developing roots.
Step 3: Pot Up Your Rose Cutting
Fill a small pot with moist, free-draining compost. A propagation mix or peat-free compost with some added grit or perlite works well.
Use a pencil or dibber to make a hole in the compost. If you’re using rooting hormone, dip the bottom of the cutting into water then into the rooting hormone before planting.
Insert the cutting so that roughly half of the stem is below the compost, then gently firm the compost around it.
You can put several cuttings around the edge of a larger pot if you prefer.
Step 4: Keep the Cuttings Moist
Water the pot gently and allow any excess water to drain away.
Rose cuttings need humidity while they’re trying to produce roots. You can place the pot inside a propagator or cover it loosely with a clear plastic bag.
If you use a plastic bag, make sure it isn’t resting heavily against the leaves. A couple of small sticks pushed into the compost can help keep it away from the cuttings.
Step 5: Find the Right Spot
Place your cuttings somewhere bright but out of strong, direct sunlight.
Keep the compost lightly moist, but don’t leave it soaking wet. Too much water can cause the stems to rot before they have a chance to produce roots.
Check your cuttings regularly and remove any leaves that turn yellow or begin to rot.
How Long Do Rose Cuttings Take to Root?
Patience is important when propagating roses. Depending on the variety and growing conditions, rooting can take several weeks or longer.
New leaf growth can be an encouraging sign, although it doesn’t always mean roots have developed yet.
After a few weeks, you can very gently tug the cutting. If you feel some resistance, roots may have started forming. Don’t keep pulling it to check, though – newly formed roots are delicate and easily damaged.
What to Do Once Your Rose Cutting Has Rooted
Once your cutting has developed a healthy root system, gradually introduce it to normal growing conditions rather than immediately moving it into full sun.
If you’ve rooted several cuttings together, carefully separate them and pot each young rose into its own container.
Continue growing your new roses on until they’re strong enough to be planted into their permanent positions.
A Few Extra Tips for Success
Take your cuttings in the morning if possible, when the stems are well hydrated.
Always use clean secateurs to reduce the chance of introducing disease, and prepare your cuttings soon after removing them from the parent plant rather than allowing them to dry out.
Most importantly, take more cuttings than you think you’ll need. Propagation is never guaranteed, and even experienced gardeners expect a few failures.
Grow More of the Roses You Love
Taking rose cuttings is one of those gardening jobs that requires very little equipment but can be incredibly rewarding.
A single established rose can potentially provide you with many new plants for your garden – or even plants to give to friends and family.
And when that little cutting eventually produces its first rose, you’ll have the satisfaction of knowing you grew the whole plant yourself.