Propagation Tutorial: How to Take Cuttings
In this tutorial we are going to show you how to take cuttings, a much quicker and cheaper way to populate your garden than from seed.
Below we are going to explain our step-by-step process to ensure healthy cuttings and which products we recommend to use.
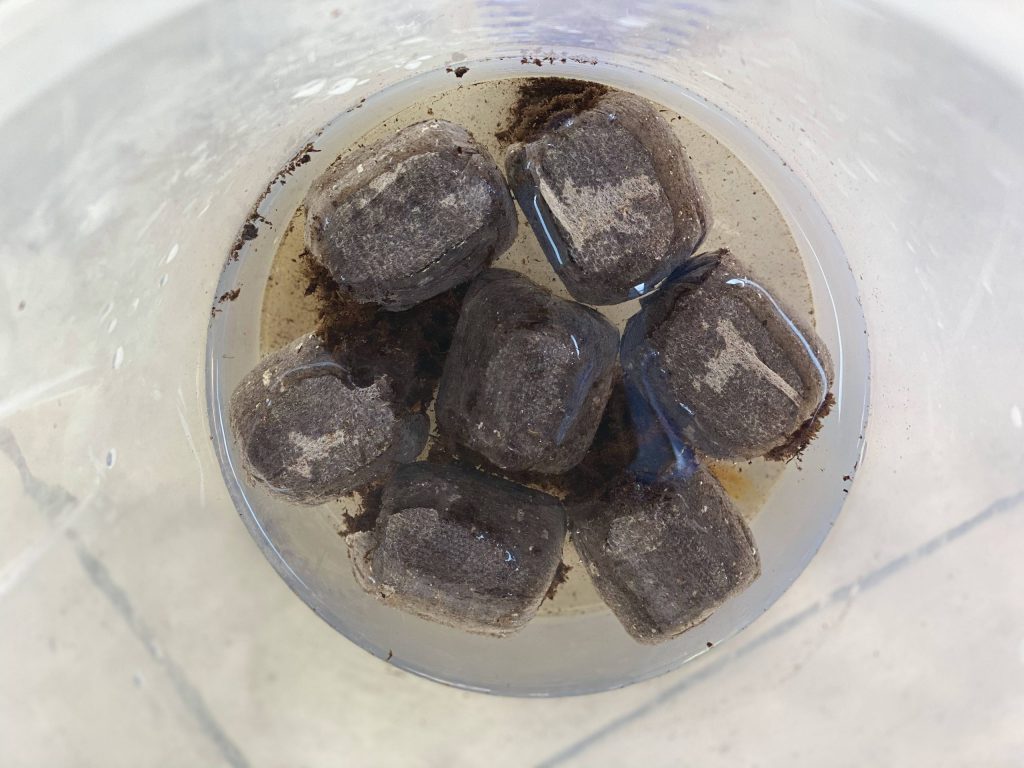
Step 1
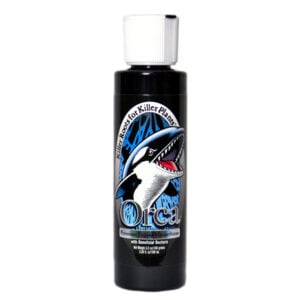
Soak some Jiffy Pellets in Tepid Tap Water (do not pH due to the jiffy pellets being of pH value of between 4-5) and Liquid Orca (1 ml for every 8 litres) – a beneficial bacteria and mycorrihizal fungi that will help create amazing root structure.
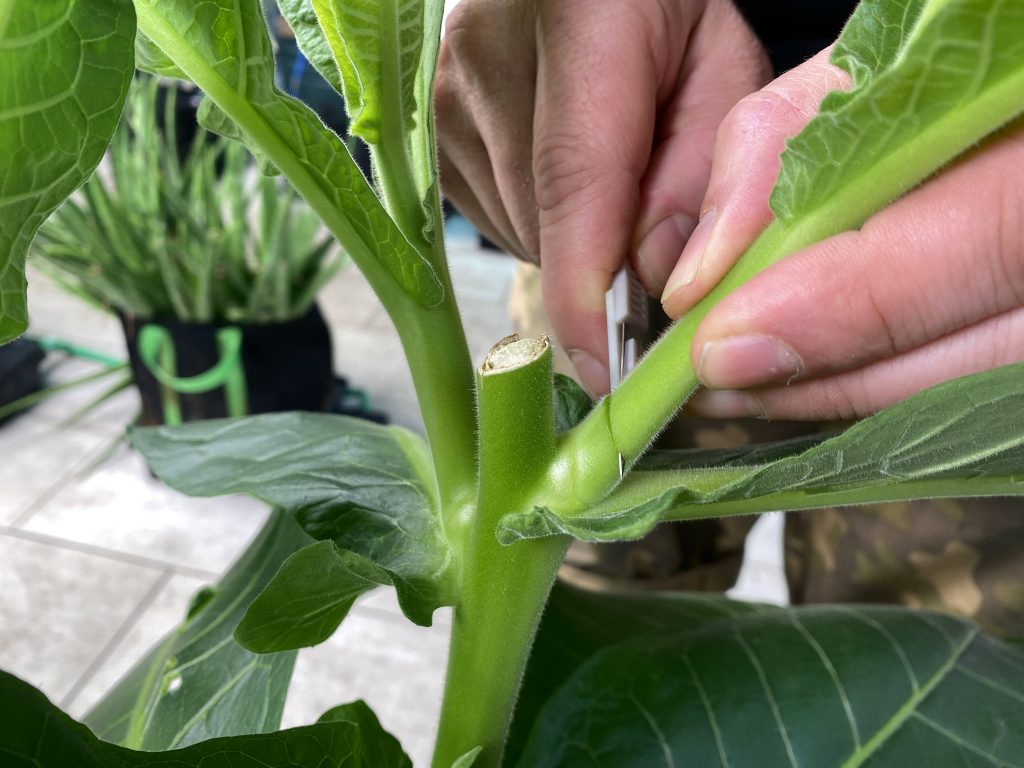
Step 2
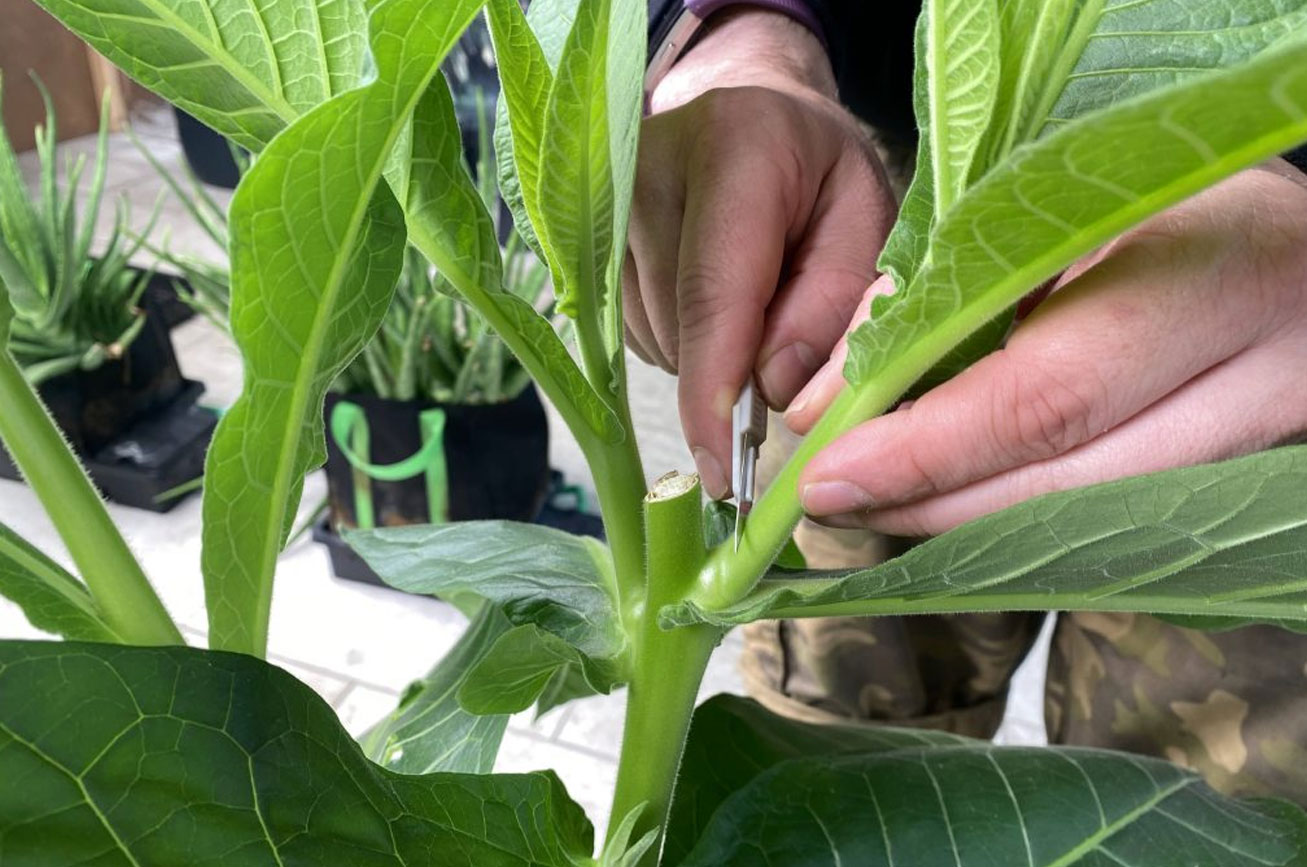
Take a cutting at a 45-degree angle with a nice clean sharp blade or scalpel.

Step 3
Once you take your cutting you dip it in Tepid water with pH adjusted to 5.5. (Recommended Product – Ecothrive Neutralise to ensure the chlorine doesn’t kill the beneficial bacteria that’s been soaked in the jiffy pellet otherwise it won’t work). By placing the cutting into the Tepid water it reduces any chance of an airlock in the base of the stem. Best practice when taking a number of cuttings is to put all your cuttings into the water before you do the rooting hormone.
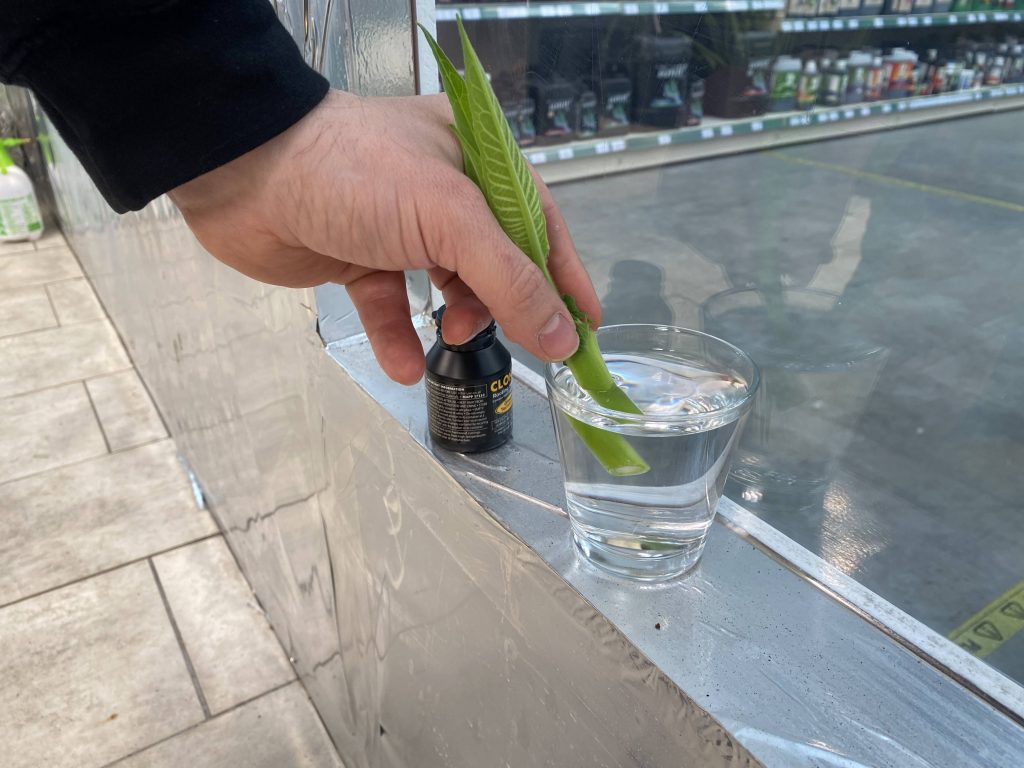

Step 4
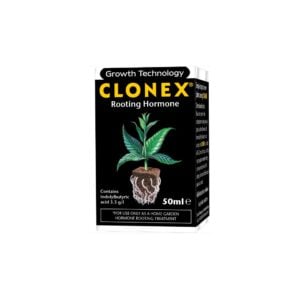
Once it’s been dipped in water it gets put into rooting hormone… we are using Clonex here.
Never dip into a pot of rooting hormone, always decant your hormone into a vessel… it’s like double dipping with ketchup it’s a no-no (contamination).
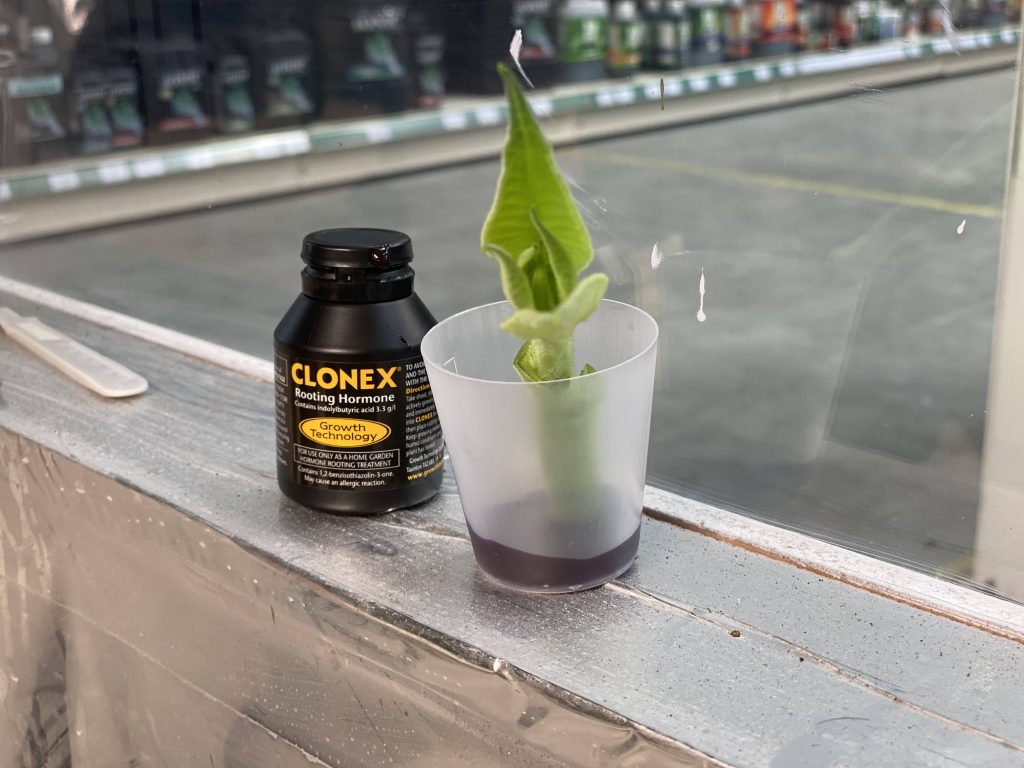
Step 5
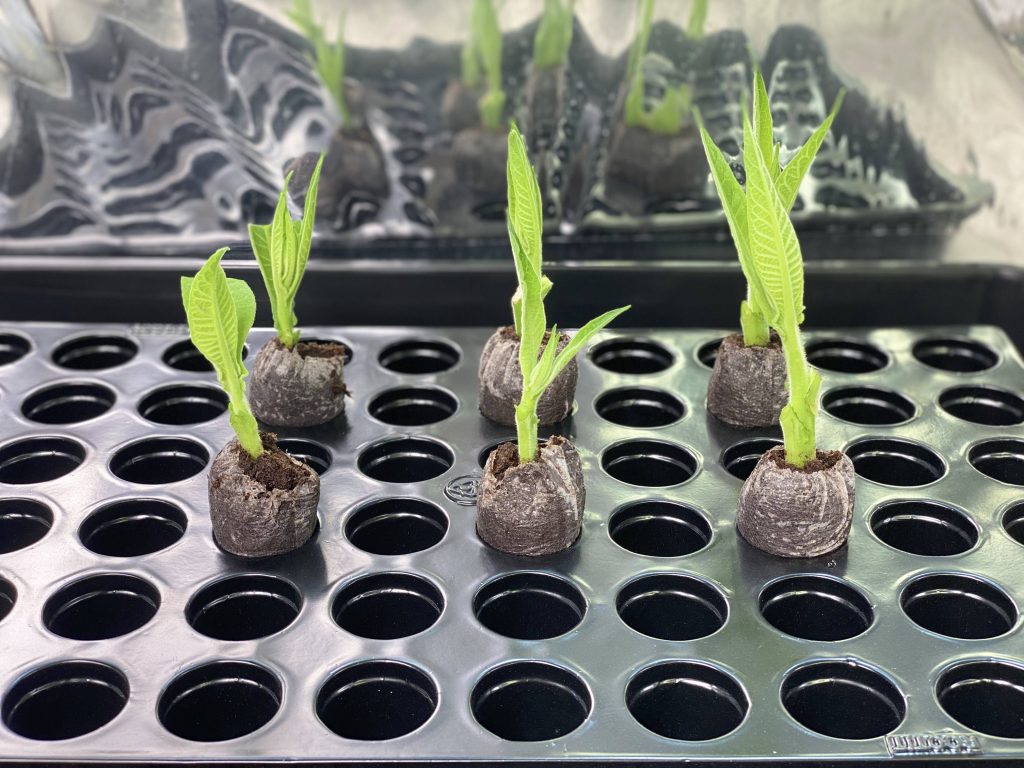
Once it comes out of the rooting hormone it can be placed into the soaked jiffy pellet.
(Note: when taking your jiffy pellet out of the water give it a quick flick to remove excess water but do not squeeze as you are not trying to reduce the air pockets and compact the pellet)

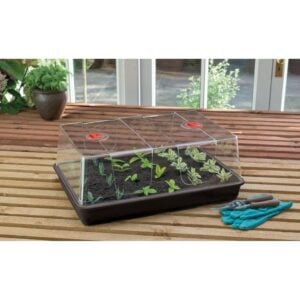
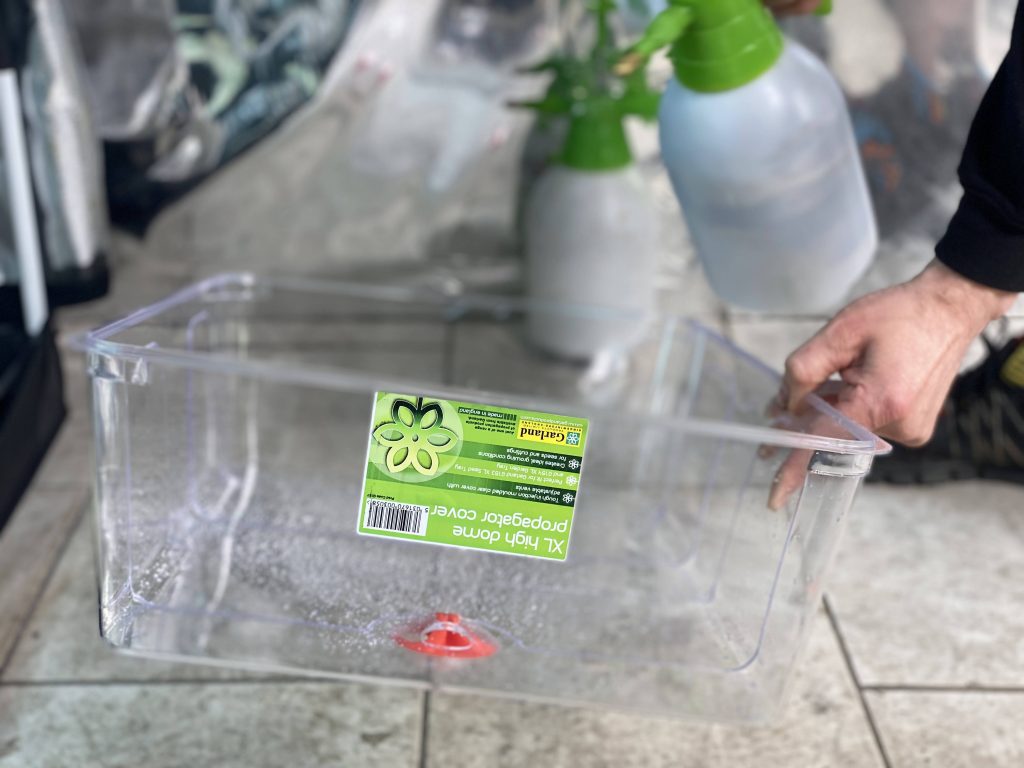
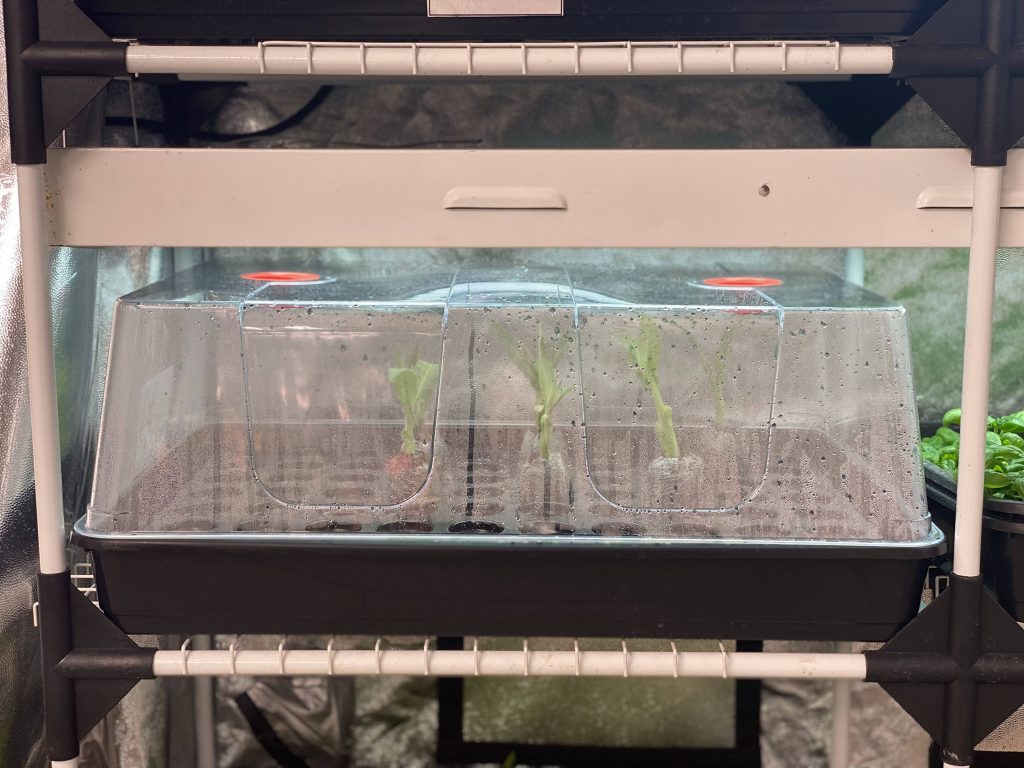
Place your jiffy pellets with cuttings into a propagator. Keep the vents closed for 72 hours, this is very important (Recommended propagator – Garland High Dome). If vents are left open cuttings are likely to wilt.
Step 6:
Lightly mist the lid and then put the lid on to create a level of humidity.
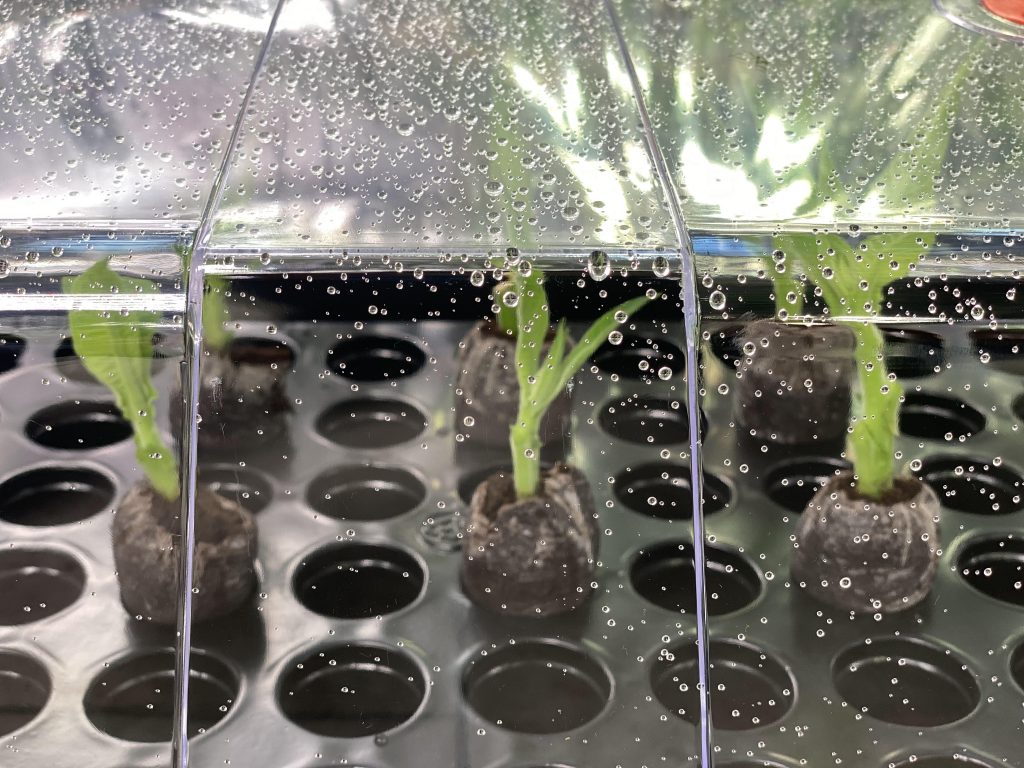
Remove the lid once a day to release excess humidity and temperature to reduce the risk of moulding and recycle the water (please see GHE Tip below).
Please ensure your cuttings don’t touch the outside lid as this will cause moulding or dampening off which will cause an infection in your propagator.

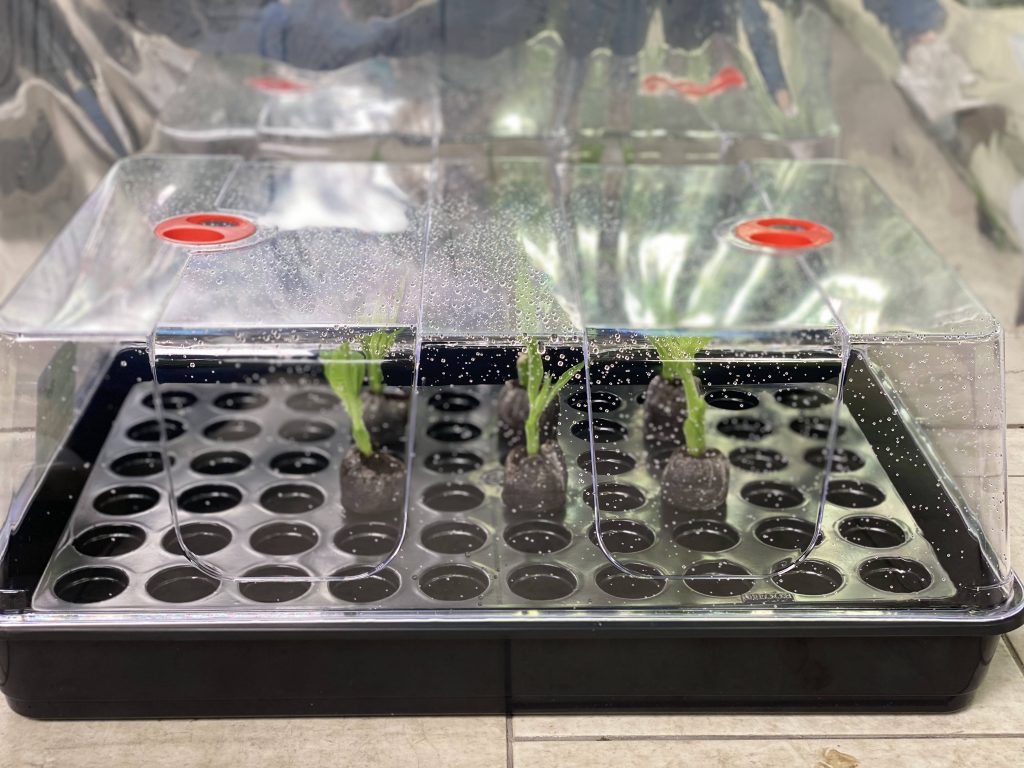
Place a propagation light over the propagator, leave the light on for 72 hours and therefore after 18 hours on 6 hours off. (Recommended propagation light – T5 Sunblaster)
GHEDirect Pro Tip…
Overspraying will cause a slowing of rooting as the plant or cutting will get all it requires from your foliar spraying so please don’t overwater.
Recycle the water that’s in the propagator back into the base by running your finger down the inside of the lid, and allowing the water to recondense the water that’s inside the propagator, thus not adding any more water to the already humid propagator.
Your cuttings will generally lighten more so at the tip which is the auxin leaving the leaf to signal to the plant to start rooting.
Good luck!
(Article originally written July 2021.)
-
Product on sale
 Clonex Mist Root PromoterOriginal price was: £8.99 – £59.99Price range: £8.99 through £59.99. Price range: £8.09 through £53.99Current price is: £8.09 – £53.99Price range: £8.09 through £53.99.
 -
Product on salePlant Success Liquid OrcaOriginal price was: £9.99 – £62.99Price range: £9.99 through £62.99. Price range: £8.99 through £56.69Current price is: £8.99 – £56.69Price range: £8.99 through £56.69.
-
Product on saleGarland High Dome PropagatorsOriginal price was: £7.99 – £18.99Price range: £7.99 through £18.99. Price range: £7.19 through £17.09Current price is: £7.19 – £17.09Price range: £7.19 through £17.09.
-
Product on saleClonex Rooting Hormone 50mlOriginal price was: £8.99.£8.09Current price is: £8.09.